01
Prepare your device
Unbox your wallet and check that its packaging and security seals look intact. Use a trusted computer and a data-capable USB cable.
YOUR WALLET, YOUR RULES
Set up your hardware wallet with confidence. This independent field guide makes the first steps clear—from checking your device to protecting the backup that matters most.
Security-first, always
Practical guidance. No shortcuts.
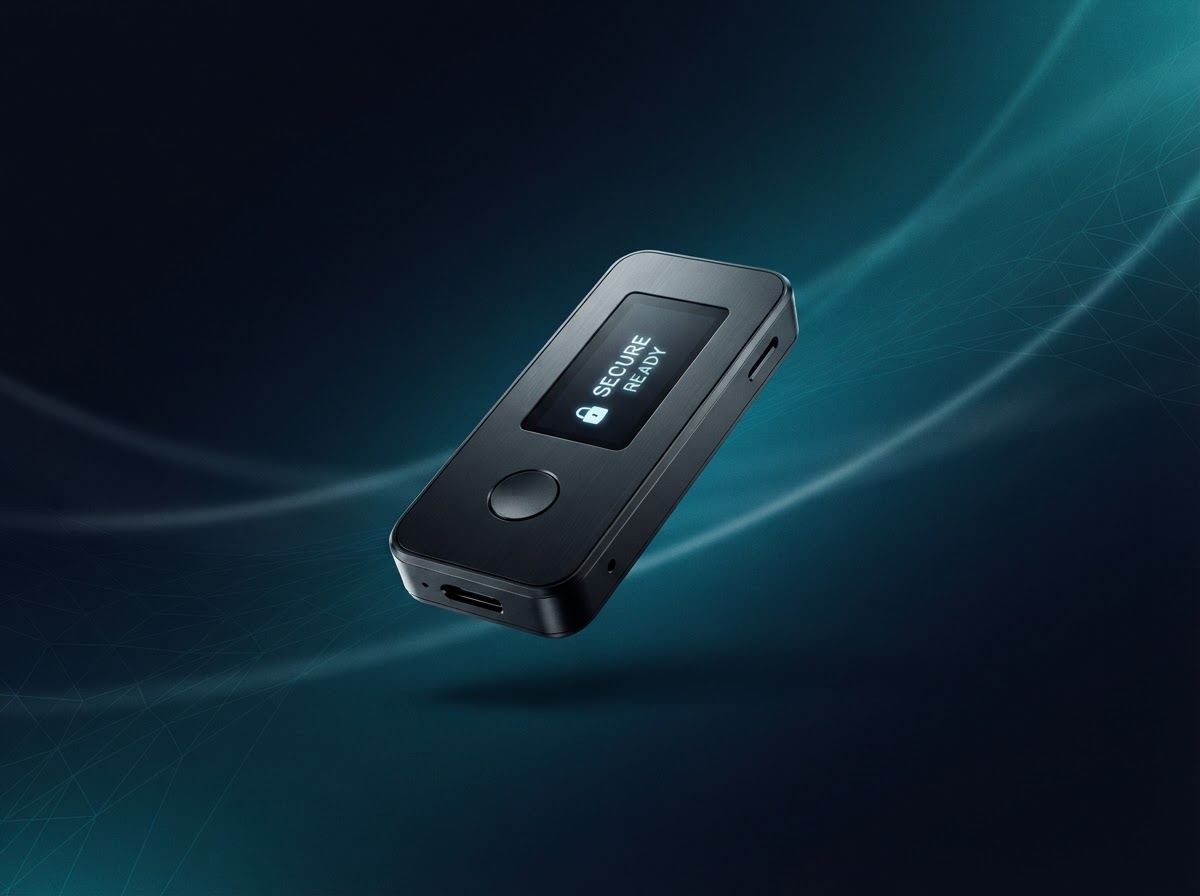
A hardware wallet keeps the keys that authorize your crypto under your control. Setup is straightforward when you slow down, use the genuine software, and treat your recovery backup as private information.
This page is an educational companion, not an official Trezor resource. Product screens and supported features can change, so use the manufacturer's documentation for device-specific instructions. Never follow setup directions sent through an unexpected message.
Take your time with each checkpoint. Your device should be the trusted source for approving sensitive actions.
Unbox your wallet and check that its packaging and security seals look intact. Use a trusted computer and a data-capable USB cable.
Type trezor.io/start directly into your browser. Check the address carefully and follow the prompts to install or open the official wallet app.
Choose to create a new wallet or recover an existing one. Confirm important actions on the device screen, not only on your computer.
Write down each word in its displayed order on paper. Verify the backup when prompted and store it somewhere private and protected.
Choose a PIN that is hard to guess, then add accounts and learn the receive and send flows with a small test transaction.
Pause if something feels off. Stop if a page asks you to disclose your recovery words, if your device shows unexpected instructions, or if the web address looks unfamiliar.
Security basics ↗YOUR BACKUP IS YOUR WALLET
Your recovery backup can restore access to your assets. Anyone who gets it may be able to take control. Keep it private, offline, and out of digital reach.
See safe setup tips ↘Record the words by hand on the provided backup medium. Check spelling and order directly against your device.
Legitimate support will not need your recovery words. Never enter them into a browser, phone, email, or chat.
Choose a private, durable location that is protected from casual access and everyday damage.
Once setup is complete, use the wallet app to organize accounts and review each action before you approve it.
Add accounts for supported assets and give them clear labels. Account visibility depends on the assets and software version you use.
Explore account basics →Generate a receive address in the app, then verify the address on your hardware wallet screen before sharing it.
Review a transaction →Before sending, verify the destination and amount on the device itself. Begin with a small test when trying a new address.
See safe sending tips →Crypto transfers are generally difficult or impossible to reverse. A quick verification ritual can help prevent mistakes and catch suspicious changes.
bc1q...7k4p✓Illustrative example · Always verify the complete details on your own hardware wallet
Update its operating system, use a private network, and close lookalike setup tabs.
Use official or authorized sellers. Avoid devices with signs of tampering or unexpected pre-configuration.
Install updates only through the verified wallet app and read on-device prompts before proceeding.
Learn how backup recovery works using trusted official instructions before an urgent situation arises.
Most setup snags are simple: a cable that charges but does not transfer data, an app that needs an update, or a device waiting for confirmation.
Try a known data-capable cable and another USB port. Connect directly rather than through a hub, then reopen the verified wallet app. Do not install software from a pop-up prompt.
Do not approve it automatically. Disconnect if appropriate, note what you see without recording recovery words, and consult the manufacturer's official help pages from a fresh browser tab.
Stop before moving funds. Review the official backup verification instructions on the device. Never test your words by entering them into a website or sharing them with support.
Reject or cancel it on your device. Verify the destination and amount independently, check for clipboard changes, and start again only when you understand every displayed detail.
Use trusted, current instructions whenever a device-specific choice matters.
Trezor.io/start is the setup address associated with Trezor. Always type it yourself, inspect the domain spelling, and avoid links from unsolicited messages. This independent guide is not operated by Trezor.
No. Your device can be unplugged after you have safely completed the action you are taking. Keep it somewhere private and connect it only when you need to approve a transaction or manage your wallet.
A replacement device can restore access using your recovery backup. That backup is equivalent to the keys to your wallet: never share it, photograph it, or type it into a website or support chat.
Recovery words are created during wallet setup and should not be changed or re-entered casually. If you need a fresh wallet, follow the official device guidance carefully and understand the implications before moving funds.
Keep your recovery backup private, verify each important detail on your device, and return to official documentation whenever you need device-specific help.
Visit Trezor.io/start ↗